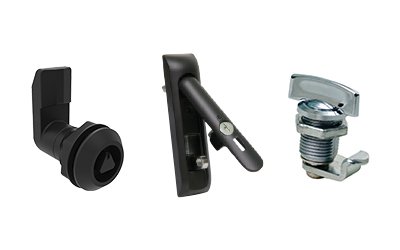
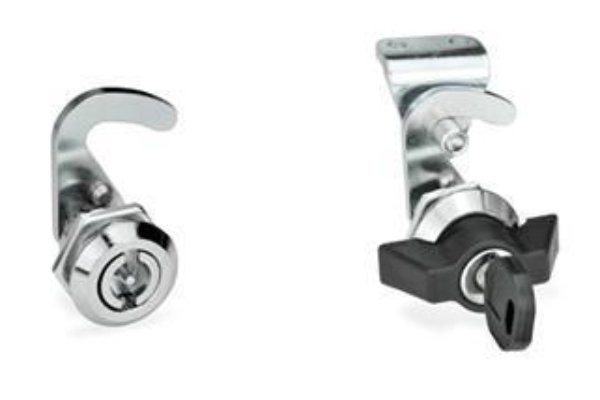
Paddle latches are commonly used in a variety of applications, including toolboxes, cabinets, enclosures, and industrial equipment. They provide a secure yet convenient locking mechanism and are designed for durability and ease of use. Proper installation is essential to ensure the latch functions correctly and provides maximum security. This guide will walk you through the step-by-step process of installing paddle latches professionally.
Tools and Materials Needed:
Before starting the installation process, gather the following tools and materials:
- Paddle latch – Ensure you have the correct size and type for your application.
- Screwdriver (Phillips or flathead, depending on the latch design).
- Drill with appropriate drill bits.
- Measuring tape or ruler.
- Marker or pencil for marking measurements.
- Wrench or socket set (if required for bolts).
- Template or mounting instructions – Many paddle latch kits include a template for precise placement.
- Safety gloves and goggles – For personal protection during drilling and installation.
Step 1: Understand Your Paddle Latch
Before beginning the installation, familiarize yourself with the paddle latch's components, including the latch body, mounting plate, screws or bolts, and any additional hardware such as a locking mechanism. Review the manufacturer's instructions, as they may include specific guidelines for your particular latch model.
Step 2: Choose the Installation Location
Identify the location where the paddle latch will be installed. This is typically on a door, panel, or access point. Ensure the surface is flat, clean, and sturdy enough to support the latch.
- Tip: Consider the latch's placement for ease of use. For example, if it will be installed on a toolbox, position it where it’s easily accessible but does not interfere with other components.
Step 3: Measure and Mark the Mounting Area
Use a measuring tape or ruler to determine the exact position for the paddle latch. Precision is key to ensuring proper alignment and functionality.
- Place the provided template (if available) on the surface.
- Mark the cutout area for the latch body and the positions for mounting holes using a marker or pencil.
- Double-check your measurements to avoid errors.
Step 4: Cut the Mounting Hole
Once you’ve marked the area, you’ll need to create an opening for the latch body.
- Use a drill with a pilot bit to create starter holes at each corner of the marked cutout area.
- Switch to a jigsaw or rotary tool to cut along the marked lines carefully.
- Smooth any rough edges with sandpaper or a file to prevent damage to the latch or injury during installation.
- Safety Note: Always wear safety goggles and gloves when cutting metal or other materials.
Step 5: Drill Mounting Holes
With the main cutout complete, drill holes for the mounting screws or bolts as marked earlier. Use a drill bit that matches the size specified by the manufacturer.
- Tip: If you’re installing the latch on a metal surface, consider using a center punch before drilling to prevent the drill bit from slipping.
Step 6: Attach the Paddle Latch
Now it’s time to secure the paddle latch to the panel or door:
- Insert the latch body into the cutout area.
- Align the mounting holes on the latch with those on the surface.
- Secure the latch in place using screws or bolts provided in the kit. Tighten them evenly to ensure a snug fit but avoid overtightening, which could damage the latch or panel.
Step 7: Test the Latch Mechanism
After installation, test the paddle latch to ensure it operates smoothly:
- Open and close it several times to verify that it latches securely.
- If your latch includes a locking mechanism, test it with the key or lock system to confirm proper functionality.
- Make any necessary adjustments to alignment or hardware tightness.
Step 8: Final Inspection
Perform a final inspection of your work:
- Check that all screws or bolts are tight and flush with the surface.
- Ensure there are no sharp edges or debris around the installation area.
- Confirm that the latch aligns properly with any corresponding strike plate or catch.
Maintenance Tips
To keep your paddle latch functioning properly over time:
- Regularly inspect it for signs of wear, rust, or damage.
- Apply lubricant to moving parts as needed to maintain smooth operation.
- Tighten any loose screws or bolts periodically.
Conclusion
Installing a paddle latch is a straightforward process that requires careful planning and attention to detail. By following these professional steps, you can ensure that your latch is securely mounted and functions effectively for its intended purpose. Always refer to the manufacturer's instructions for specific details about your particular model, and don’t hesitate to seek expert advice if needed.
With proper installation and maintenance, your paddle latch will provide reliable performance for years to come.


